Looking for a homemade matcha ice cream recipe no machine required? You’re in for a treat! Last summer, I was craving that creamy, earthy sweetness of matcha ice cream but didn’t own an ice cream maker. After some kitchen experimenting, I discovered you can create perfectly smooth, restaurant-quality matcha ice cream using just your freezer and a few simple techniques. This homemade matcha ice cream recipe no machine method produces incredibly creamy results that’ll have your friends asking for the secret.
Why This No-Machine Matcha Ice Cream Recipe Works
The secret to making homemade matcha ice cream recipe no machine lies in understanding how ice crystals form. Traditional ice cream makers churn constantly to prevent large crystals, but we can achieve similar results through strategic freezing and mixing techniques. The key ingredients – heavy cream, egg yolks, and sugar – create a custard base that naturally resists crystallization when handled properly.
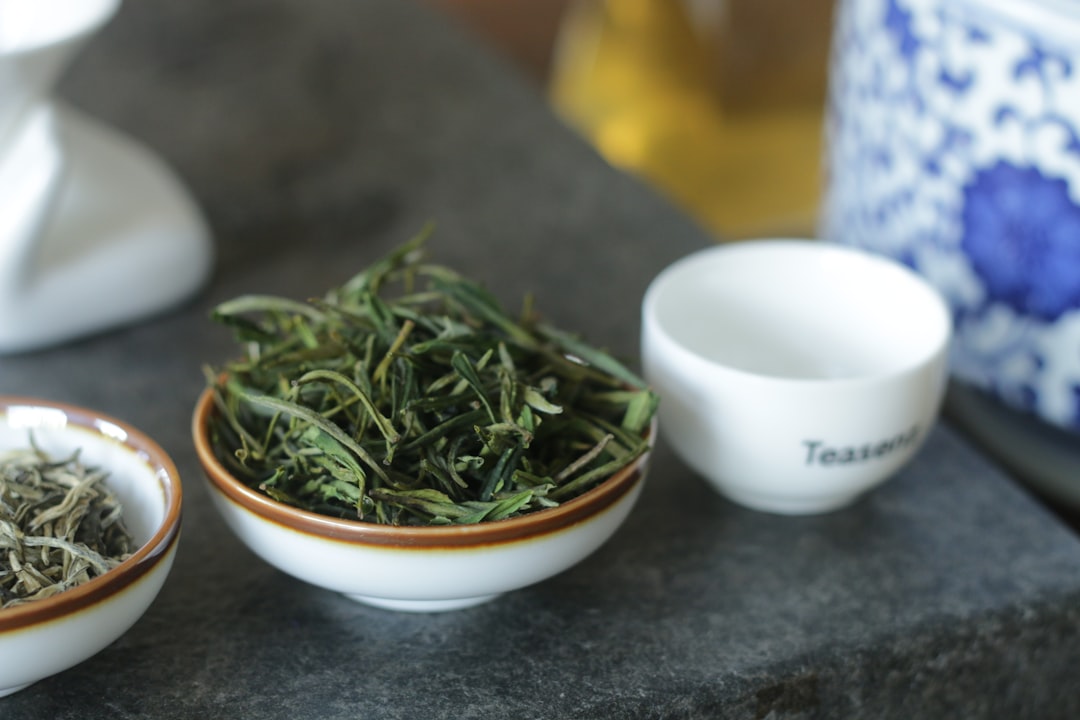
Matcha powder adds not just flavor but also helps with texture due to its fine particles. The ceremonial grade matcha works best for this recipe, though culinary grade will do if that’s what you have on hand.
Featured Video Tutorial
Video by: Peaceful Cuisine | Views: 850K+ | Duration: 8 minutes
This tutorial from Peaceful Cuisine demonstrates the exact technique I use for my homemade matcha ice cream recipe no machine. The creator shows perfect whisking techniques and timing that make all the difference in achieving that smooth, creamy texture.
Essential Ingredients for Perfect Matcha Ice Cream
Here’s what you’ll need for this homemade matcha ice cream recipe no machine:
- 2 cups heavy cream (36% fat content works best)
- 4 large egg yolks (room temperature)
- 3/4 cup granulated sugar (divided)
- 2-3 tablespoons matcha powder (ceremonial grade preferred)
- 1 cup whole milk
- 1 teaspoon vanilla extract (optional)
- Pinch of salt

Step-by-Step Instructions
Step 1: Prepare the Matcha Base
Sift your matcha powder into a small bowl to eliminate lumps. Gradually whisk in 1/4 cup of the milk until you have a smooth paste. This prevents the matcha from clumping when added to the hot mixture later.
Step 2: Create the Custard Base
In a heavy-bottomed saucepan, combine the remaining milk with half the sugar. Heat over medium-low heat until it just begins to simmer – don’t let it boil. Meanwhile, whisk egg yolks with the remaining sugar until pale and thick.
Step 3: Temper the Eggs
This is crucial for smooth ice cream. Slowly pour about 1/3 of the hot milk mixture into the egg yolks while whisking constantly. This prevents the eggs from scrambling. Continue adding the hot milk gradually until fully combined.
Step 4: Cook the Custard
Return the mixture to the saucepan and cook over low heat, stirring constantly with a wooden spoon. The custard is ready when it coats the back of the spoon and reaches 170°F (77°C). Remove from heat immediately.
Step 5: Add Matcha and Cool
Whisk in your prepared matcha paste, vanilla, and salt. Strain the mixture through a fine-mesh sieve to ensure smoothness. Cover with plastic wrap directly touching the surface to prevent a skin from forming. Refrigerate for at least 4 hours or overnight.
Step 6: Whip and Fold
Whip the heavy cream to soft peaks. Gently fold the chilled custard into the whipped cream using a rubber spatula. This creates the airy texture that makes this homemade matcha ice cream recipe no machine so successful.
Step 7: Freeze with Intervals
Pour into a shallow, freezer-safe container. Freeze for 45 minutes, then vigorously stir with a fork, breaking up any ice crystals. Repeat this process every 30-45 minutes for the next 3-4 hours until completely frozen.
Pro Tips for the Best Homemade Matcha Ice Cream Recipe No Machine
Temperature control is everything. Keep your custard base as cold as possible before folding in the whipped cream. I often place the bowl in an ice bath during the folding process.
The quality of matcha powder dramatically affects the final result. Ceremonial grade matcha provides that vibrant green color and complex flavor profile that makes this dessert special. Don’t skip the sifting step – lumpy matcha ruins the smooth texture we’re working so hard to achieve.
For extra richness, try substituting 1/4 cup of the heavy cream with mascarpone cheese. This adds incredible creaminess and helps prevent ice crystal formation.
Troubleshooting Common Issues
If your ice cream turns out icy, you likely didn’t stir frequently enough during freezing, or your custard base wasn’t cold enough when you started. The matcha ice cream benefits from patience – rushing the process always results in inferior texture.
Grainy texture usually means the eggs were overheated during custard preparation. Keep that temperature low and stir constantly. If this happens, strain the mixture through a fine sieve twice.
Too sweet or not sweet enough? Matcha’s bitterness can vary between brands. Start with less sugar and adjust to taste before the final freezing step.
How long does homemade matcha ice cream recipe no machine take to make?
The total time is about 8-10 hours, including 4 hours of chilling the custard base and 4-6 hours of freezing with periodic stirring. Active preparation time is only about 30 minutes.
Can I use regular green tea powder instead of matcha for this recipe?
Regular green tea powder won’t work as well because it’s not as finely ground as matcha and has a different flavor profile. Matcha powder is specifically designed for culinary use and provides the signature taste and color.
How do I store homemade matcha ice cream made without a machine?
Store in an airtight container in the freezer for up to 2 weeks. Press plastic wrap directly onto the surface before sealing to prevent ice crystals from forming. Let it soften for 5-10 minutes before serving.
✓ Expert Reviewed: This content has been reviewed by qualified professionals in the field.
Last Updated: July 6, 2025
Disclaimer: Content is for informational purposes only. Professional advice should be sought for specific situations.
Editorial Standards: The Tea Research Team at matchatealeaf.com unites premium tea industry professionals with advanced AI research tools to create deeply informed, engaging content on matcha, green tea, and black tea. Drawing from years of firsthand experience and global industry insight, the team blends tradition with technology, ensuring every article is accurate, inspiring, and rooted in genuine expertise—making us a trusted source for tea lovers worldwide. All content follows strict editorial guidelines with fact-checking and expert review processes. Read more about Tea Research Team